Introduction How Do i Remove Oil Separator Bar on honda 175
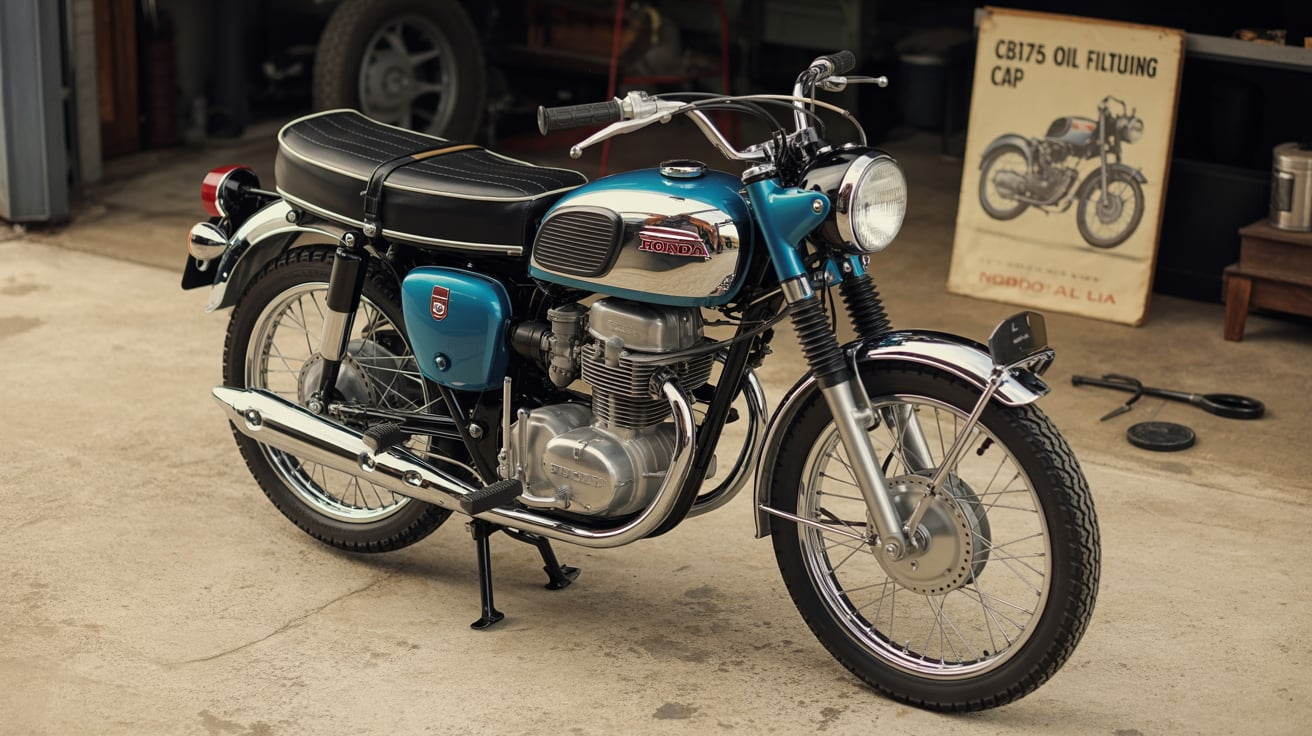
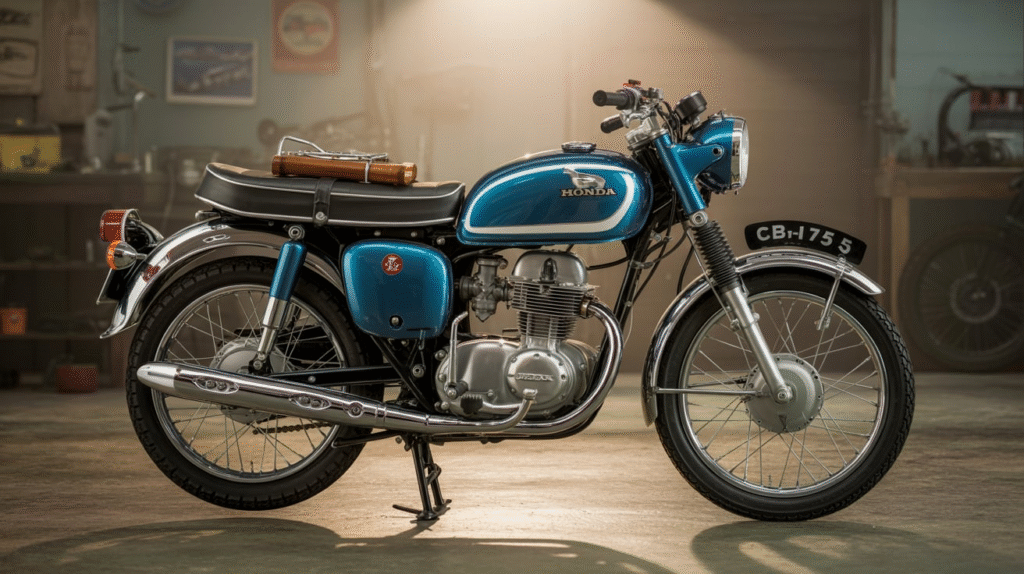
The Honda CB175, a beloved classic motorcycle introduced in 1965, remains a favorite among vintage bike enthusiasts for its reliability and timeless design. Powered by a 163 cc twin-cylinder engine, this bike was designed for the American market, offering a balance of performance and efficiency. To keep your CB175 running smoothly, regular maintenance of its oil system is essential. One task you might encounter is removing what some call the “oil separator bar.” Based on community discussions and technical resources, this term likely refers to the oil filter cap, a critical component of the bike’s centrifuge-type oil filtration system.
In this comprehensive guide, we’ll walk you through how to remove the oil filter cap on your Honda CB175. Whether you’re performing routine maintenance or preparing for a deeper engine overhaul, this step-by-step process will help you tackle the task with confidence. We’ll clarify terminology, list the necessary tools, and provide detailed instructions to ensure success. Let’s dive in and keep your vintage Honda in top shape.
Clarifying the Term: Oil Separator Bar vs. Oil Filter Cap
Before we proceed, let’s address the term “oil separator bar.” In official Honda CB175 documentation, such as service manuals, there’s no component explicitly named the “oil separator bar.” However, based on discussions in forums like Honda Twins, it’s likely that this term refers to the oil filter cap. The CB175 uses a centrifuge-type oil filter, which spins oil to separate contaminants, and the cap secures this filter in place. The term “bar” might stem from the cap’s shape or a colloquial misunderstanding among enthusiasts.
For clarity, this guide focuses on removing the oil filter cap, which allows access to the centrifuge filter for cleaning or replacement. Understanding this distinction ensures you follow the correct procedure without confusion.
Understanding the Oil System on Honda CB175
The oil system on the Honda CB175 is designed to keep the engine’s internal components lubricated, reducing friction and dissipating heat. The oil pump draws oil from the tank and circulates it through passages to critical parts like the pistons, crankshaft, and camshaft. As the oil moves, it collects contaminants such as dirt, metal shavings, and carbon deposits. The centrifuge oil filter, housed under the oil filter cap, uses centrifugal force to separate these impurities, allowing cleaner oil to return to the engine.
Over time, the filter can become clogged with sludge, reducing oil flow and risking engine wear or failure. Removing the oil filter cap is necessary to clean or replace the filter, ensuring the engine receives clean oil. This maintenance task is vital for preserving the performance and longevity of your CB175.
Tools Required for Removing the Oil Filter Cap
To remove the oil filter cap efficiently, gather the following tools:
- Impact Driver or Screwdriver: Needed to loosen the 6mm cross screw securing the cap.
- Wrenches or Sockets: For removing any obstructing fasteners, such as those on the seat or side covers.
- Clean Rags: To wipe away oil or debris during the process.
- New Gaskets or Seals: If the existing gasket is worn or damaged, have replacements ready.
- Safety Glasses: To protect your eyes from debris or oil splashes.
- Work Gloves: To keep your hands clean and safe from sharp edges.
Having these tools prepared will streamline the process and minimize interruptions. If you’re considering a deeper engine overhaul, you might also need a special Honda oil filter removal socket or a homemade tool from a 20mm socket, as noted in Honda Twins discussions.
Step-by-Step Guide to Remove the Oil Filter Cap
Follow these steps to remove the oil filter cap on your Honda CB175 safely and effectively.
Step 1: Prepare Your Workspace
Begin by setting up a clean, well-lit workspace. Park your CB175 on a level surface and secure it with a motorcycle stand or wheel blocks to prevent movement. This ensures safety and ease of access during the task.
Ensure the engine is cool before starting, as hot oil or components can cause burns. If you’ve recently ridden the bike, allow it to sit for at least 30 minutes. A cool engine also makes it easier to handle parts without discomfort.
Step 2: Access the Oil Filter Cap
The oil filter cap is located on the left side of the engine, near the oil pump. To reach it, you may need to remove components that obstruct access, such as:
- The seat
- The left side cover
- Any additional panels or covers
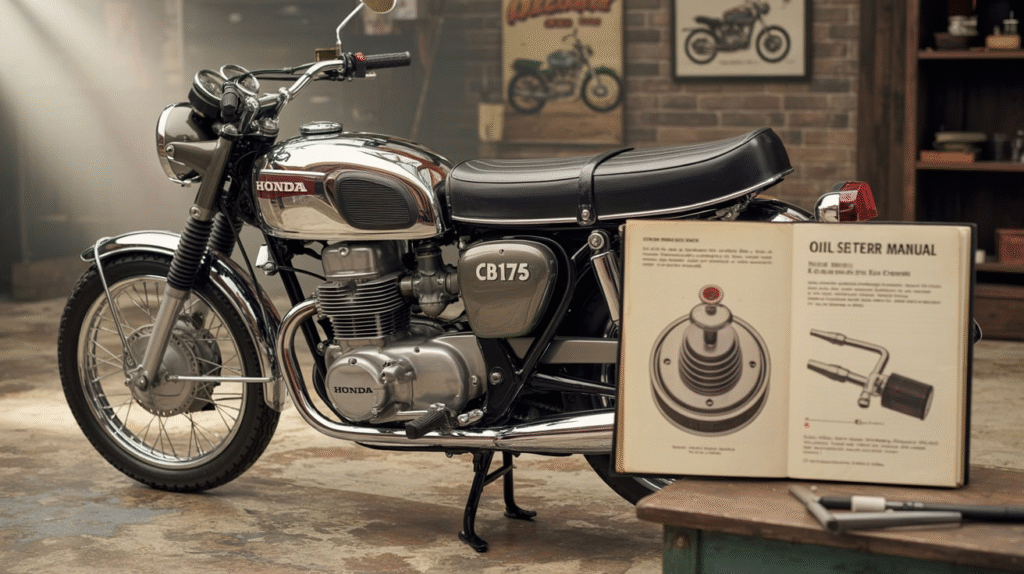
Carefully remove these parts, keeping track of screws and fasteners for reassembly. If you’re unsure about the removal process for any component, consult a Honda CB175 service manual, available from sources like Common Motor Collective.
Step 3: Loosen the Cap
Locate the 6mm cross screw that secures the oil filter cap. Using an impact driver or a sturdy screwdriver, begin loosening the screw. If it’s stuck, apply steady pressure to avoid stripping the screw head. In some cases, as noted in Honda Twins forums, you may need to use more force or an impact driver for stubborn screws.
Important Note: Before fully removing the screw, check that the washer tab is unlocked from one of the four slots on the nut. This tab prevents the cap from loosening during operation, so it must be disengaged.
Step 4: Remove the Cap
Once the screw is loose, gently lift the oil filter cap off the engine. Move slowly to avoid dropping the cap or allowing debris to fall into the engine. Place the cap in a clean, safe spot to prevent contamination.
Inside, you’ll see the centrifuge oil filter, which may contain dark, sludgy oil and debris. This is normal, especially if the filter hasn’t been cleaned recently. Be cautious not to damage the bronze edge around the center hole of the cap, as it’s part of the oil seal and critical for preventing leaks.
Step 5: Service the Oil Filter
With the cap removed, you can now clean or replace the centrifuge oil filter. To clean it, use a clean rag and solvent to remove sludge and debris from both the filter and the inside of the cap. Ensure all surfaces are thoroughly cleaned to maintain optimal filtration.
If the filter is heavily clogged or damaged, replace it with a new one. Replacement filters for the CB175 can be found at parts suppliers like Common Motor Collective or CMSNL.
Step 6: Reassemble
After servicing the filter, prepare to reassemble. If the existing gasket is worn or damaged, replace it with a new one to ensure a proper seal. Align the oil filter cap correctly and secure it with the 6mm cross screw. Tighten the screw firmly but avoid overtightening, which could strip the threads or damage the cap.
Double-check that all components are secure and that no fasteners are loose. Reattach any panels or covers removed earlier, ensuring everything is properly aligned.
Additional Tips and Precautions
To ensure a successful and safe removal process, consider these tips:
- Perform an Oil Change: If the oil is due for a change, do it while the filter is out. Fresh oil complements a clean filter, as recommended by Common Motor Collective.
- Use Torque Specifications: If you have a torque wrench, tighten the cap to the manufacturer’s specified torque, typically found in a service manual.
- Maintain Cleanliness: Keep your workspace and tools clean to prevent dirt from entering the engine.
- Consult a Manual: For detailed diagrams and specifications, refer to a Honda CB175 service manual, available from Common Motor Collective.
- Community Support: If you encounter issues, seek advice from communities like Honda Twins or local mechanics.
| Step | Action | Precaution |
|---|---|---|
| Prepare Workspace | Secure bike, ensure engine is cool | Use a stand or wheel blocks |
| Access Cap | Remove seat, side covers | Keep track of fasteners |
| Loosen Cap | Use impact driver on 6mm screw | Unlock washer tab, avoid stripping |
| Remove Cap | Lift cap gently | Protect bronze edge of seal |
| Service Filter | Clean or replace filter | Use solvent, ensure thorough cleaning |
| Reassemble | Secure cap with new gasket | Tighten without overtightening |
Conclusion
Removing the oil filter cap, often referred to as the “oil separator bar,” on your Honda CB175 is a manageable maintenance task that plays a vital role in keeping your engine healthy. By following this detailed guide, you can confidently service the centrifuge oil filter, ensuring clean oil circulates through your motorcycle’s engine. Regular maintenance like this preserves the performance and longevity of your vintage Honda, allowing you to enjoy countless rides.
If you’re new to motorcycle maintenance or encounter challenges, don’t hesitate to consult a service manual or reach out to the vibrant Honda CB175 community on platforms like Honda Twins. Share your experiences, ask questions, and keep the spirit of classic motorcycle maintenance alive. Happy wrenching!